Ted's Cessna Knobox
===================
.. raw:: html

- Video demo: https://www.reddit.com/r/flightsim/comments/iyrxqb/diy_cessna_control_under_200/
Materials
---------
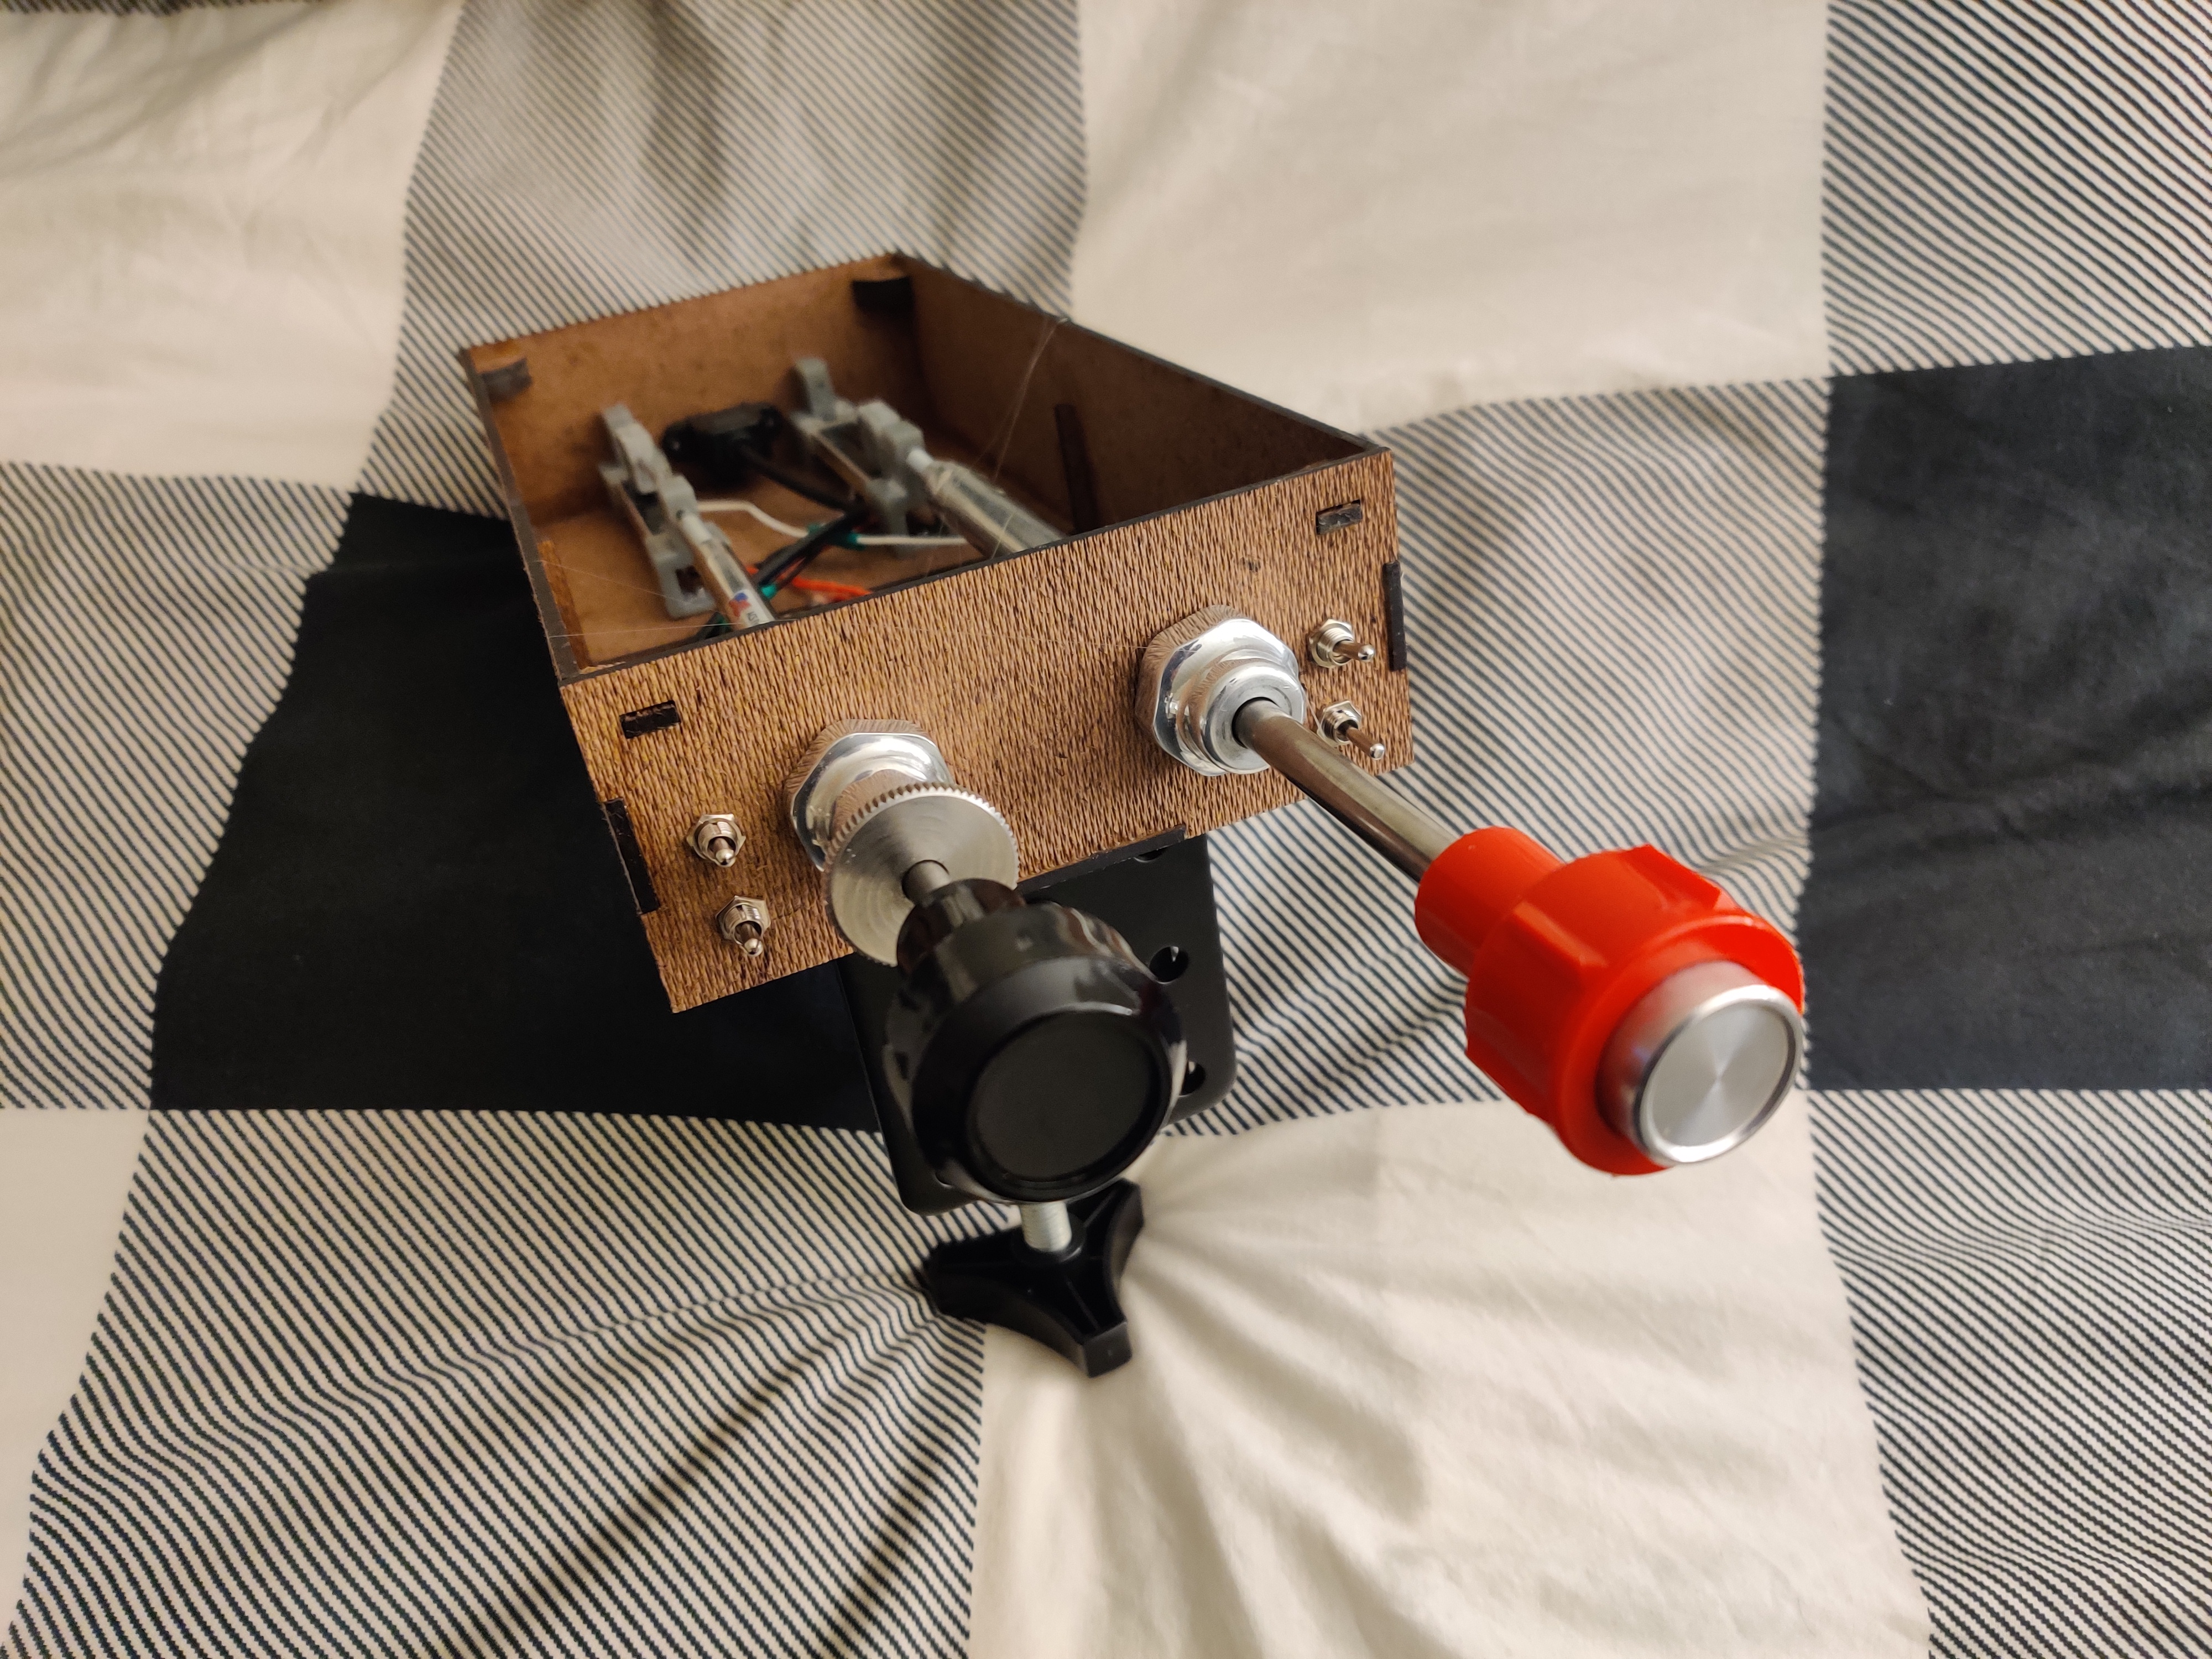
- Part I (mechanical)
- a friction-locked throttle knob (I used `A820 `_)
- a vernier-style mixer knob (I used `A790 `_)
- hardboard, 3.5mm in thickness
- M3 screws x4 for securing the potentiometers to the holders
- M2 screws x4 for securing the knob ends to the potentiometer sliders
- (M2.5/M3 screws + nuts) x4 for securing the holders to the enclosure
- you'll need to laster-cut the hardboard and 3D-print the holders/sliders
- Part II (circuitry)
- stmf103c8t6 board & ST-link programmer (something like https://www.ebay.com/itm/2pcs-STM32F103C8T6-ARM-STM32-Development-Board-Module-Blue-Pill-ST-Link-V2-USA/292168190439)
- slide potentiometer (10K, 88mm in length, https://www.amazon.com/gp/product/B07QVQ67MV/ref=ppx_yo_dt_b_asin_title_o06_s00?ie=UTF8&psc=1)
- 3 SPDT switches + 1 SPDT toggle switch
- 5 resistors (15K)
- micro-USB to USB type-A cable (https://www.ebay.com/itm/90-Degree-Left-Angled-Micro-USB-5pin-Male-to-USB-B-Female-Panel-Mount-Type-Cable/162358249642)
- (optional) mounting jig (https://www.amazon.com/gp/product/B07BHXXR4D/ref=ppx_yo_dt_b_asin_title_o01_s00?ie=UTF8&psc=1 works very well, but you'll need to drill the holes yourself)
3D Printed Components
---------------------
- Holders: ``holder.stl``
- Sliders: ``slider1.stl``, ``slider2.stl``
Enclosure
---------
- Part 1: ``cessna-knobox-enclosure1.svg``
- Part 2: ``cesnna-knobox-enclosure2.svg``
Circuitry
---------
- Configure the potentiometers as voltage diviers:
- Connect two ends to have 3.3v difference in voltage
- Connect the pivot pins to A1 and A2 of the microcontroller
- Configure the switches as pull-up inputs:
- Connect the middle pin of all switches to the ground (G/GND)
- Parallel one side of the resistors (15K x5) to be 5V (5V pin)
- Connect the other side of each resistor as shown in the diagram:
- One (left/right) pin from each of three switches connects to A8, A9, A10, respectively
- Pins (left & right) of the fourth switch connect to B14, B15.
- Note: the lower right switch is a SPDT switch that springs to off when no
pressure is applied. It could be used as flap control.
.. raw:: html
Firmware
--------
- (optional) To build the firmware from source, run ``./build_image.sh`` (make sure you
have Rust/Cargo installed on your computer)
- Or you can use a pre-built image already available at ``./cessna-knobox.bin``
- Flash the image to the microcontroller using ST-link (you can either use the tool provided officially by ST, or do it in openocd)
